Because I only print PLA on this printer, the enclosure is rather simple. Mainly for keeping the drafts out and that way getting a more constant ‘chamber’ temperature.


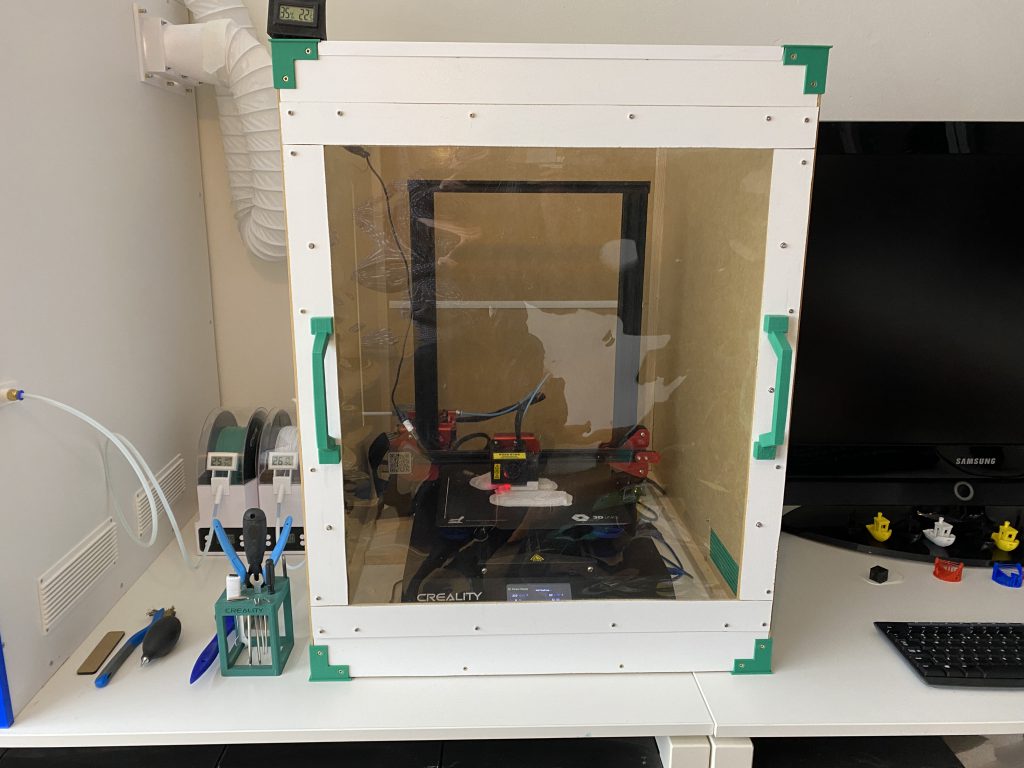
I didn`t like to put the Raspberry Pi (OctoPrint) in the chamber and also wanted to control the on/off and lights from OctoPrint`s Enclosure plugin AND with buttons on the front. So I designed a simple frame in Fusion 360 and printed that in white PETG (on my Ender 5 Plus).
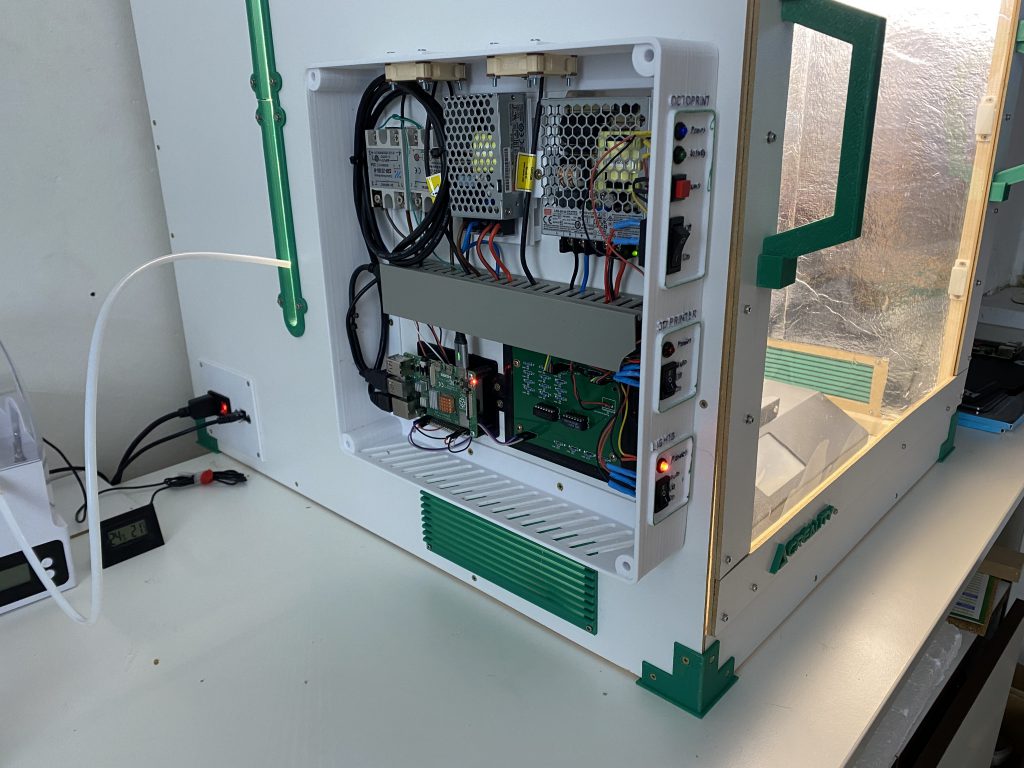
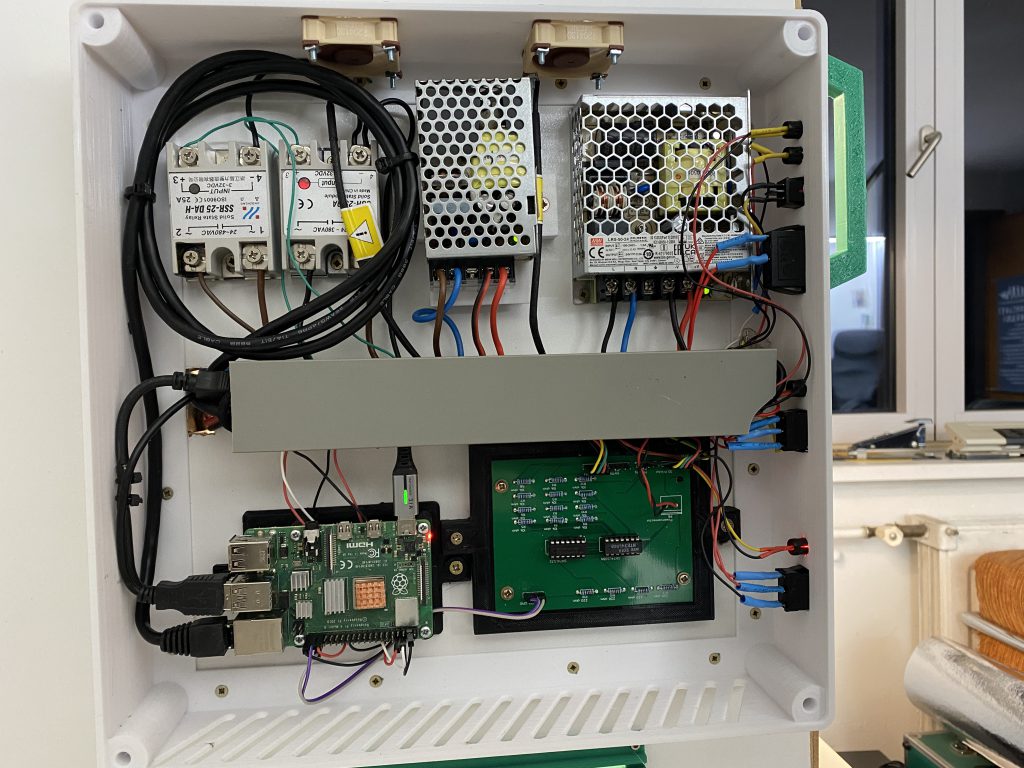
Mounted a 5V3A Meanwell powersupply for the two Noctua fans and the Raspberry Pi 4b and my switchboard PCB. One SSR for the Meanwell 24V powersupply for the LED lights and another SSR for powering up the printer.

Never ready with upgrading. Halfway 2022 I upgraded to Insanity Automation firmware. That made using the printer so much easier. In April 2023, after I had another problem with a half melted PTFE Tube (although capricorn), I decided to do some upgrading. Also because I wanted to get some more speed out of the printer. Ended up with a MicroSwiss All Metal Hotend, a Orbiter 2.0 extruder in DirectDrive mode and a Hero Me gen7 fanduct.
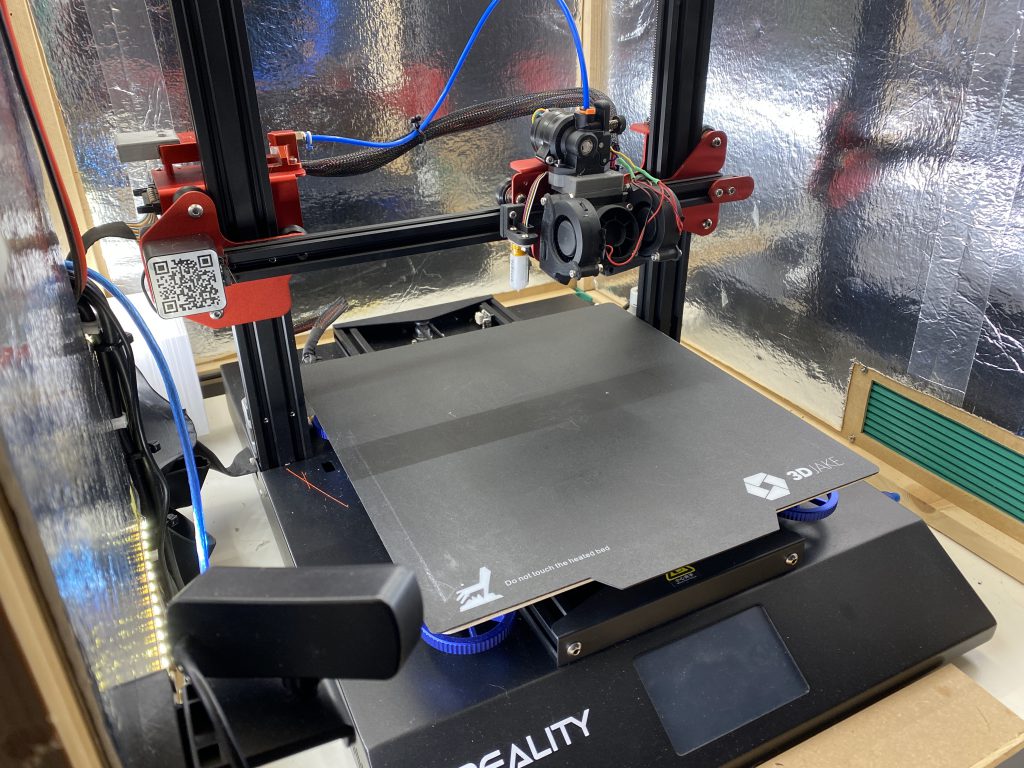
The upgrades made the printer handle much easier. Normally I printed with 50-60 mm/s. Now with these upgrades, I can print at 100 mm/s with great quality.